Getting Started
Install ChargeForms, build your first form in the drag-and-drop builder, and publish it with a shortcode or block in a few minutes.
Install the plugin
From your WordPress dashboard, go to Plugins → Add New, search for "ChargeForms", and click Install then Activate. You can also upload the plugin zip directly from Plugins → Add New → Upload Plugin.
Activation creates ChargeForms's own database tables (forms, entries, and
their indexes) and grants the chargeforms_manage_forms capability to the
Administrator role — a dedicated capability, not a reuse of the built-in
manage_options, so you can later grant form-management access to an
Editor or Author without giving them full site administration.
Create your first form
- In the sidebar, go to ChargeForms → New Form.
- Choose Blank Form, or pick a starting point from Templates.
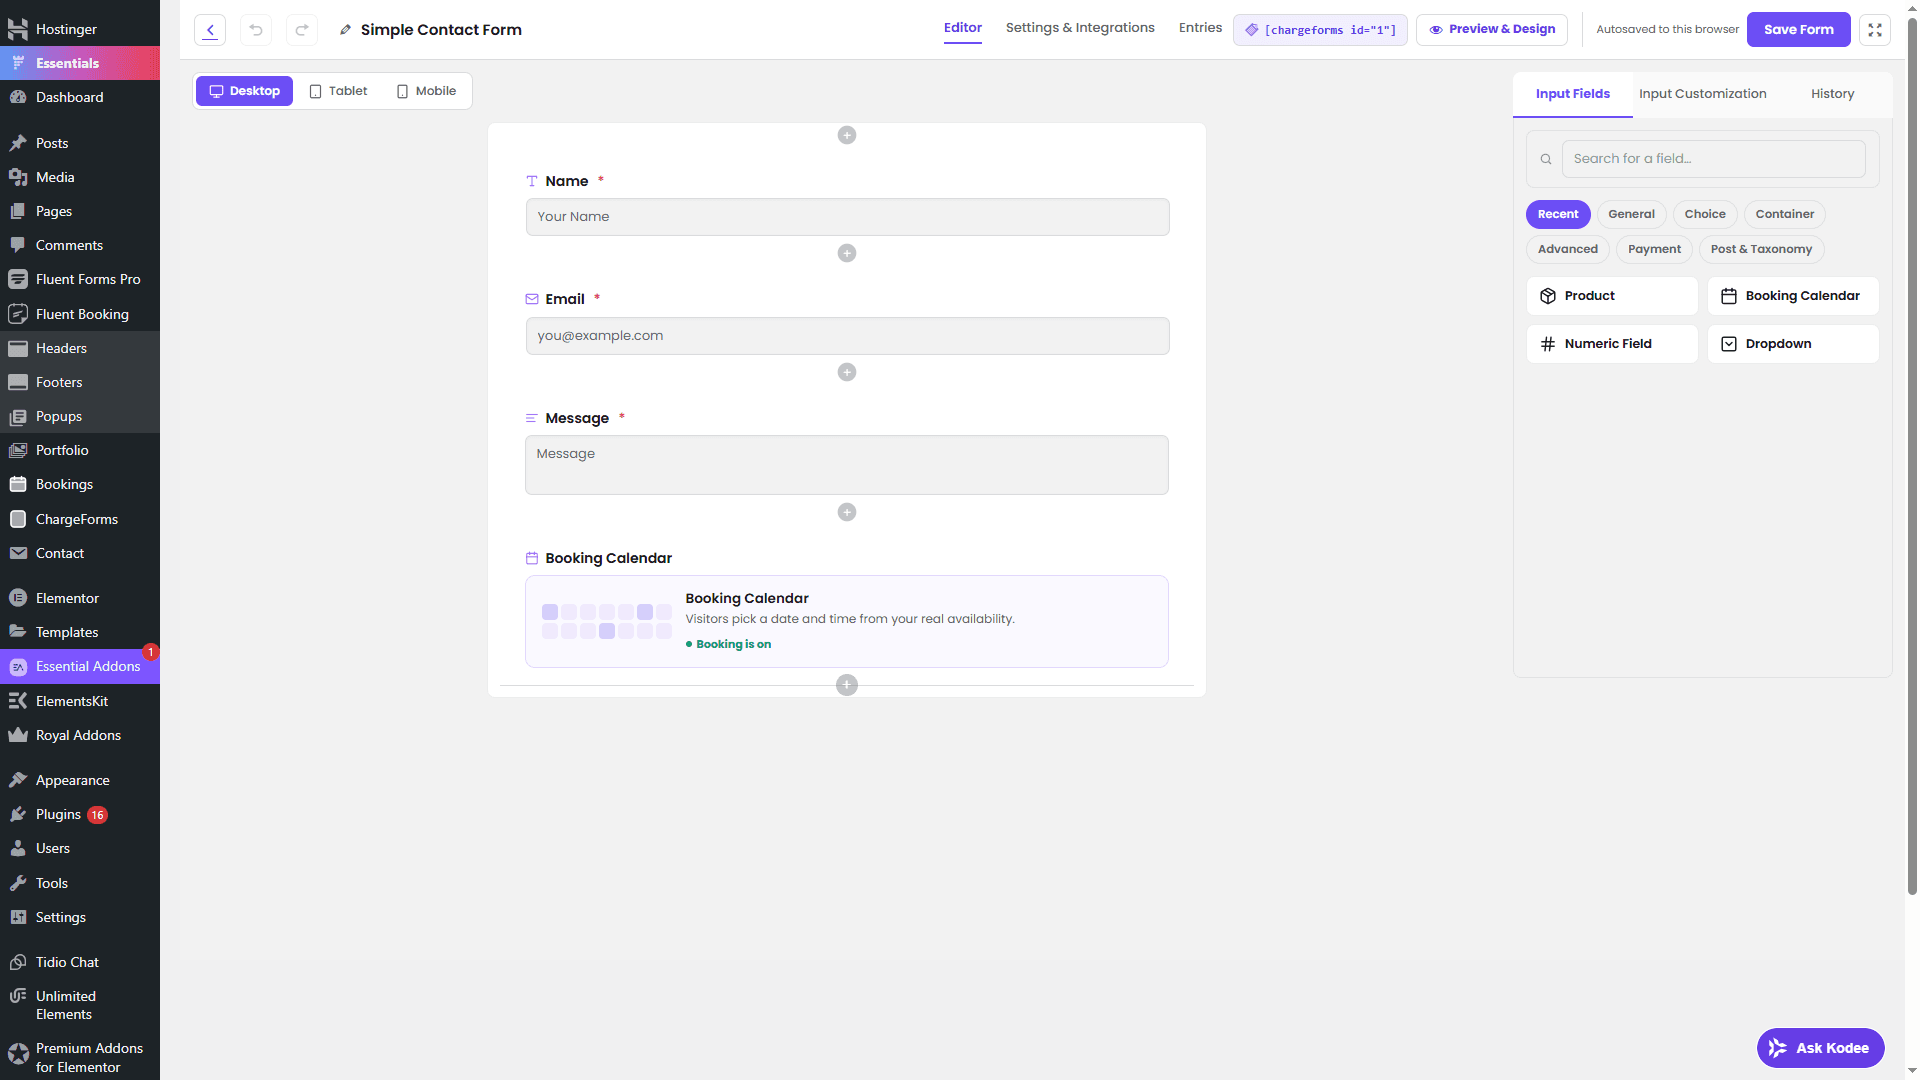
- You'll land in the builder — a live, drag-and-drop canvas on the left and a field settings panel on the right.
- Drag fields from the palette onto the canvas, or use the persistent + buttons to insert a field at an exact position.
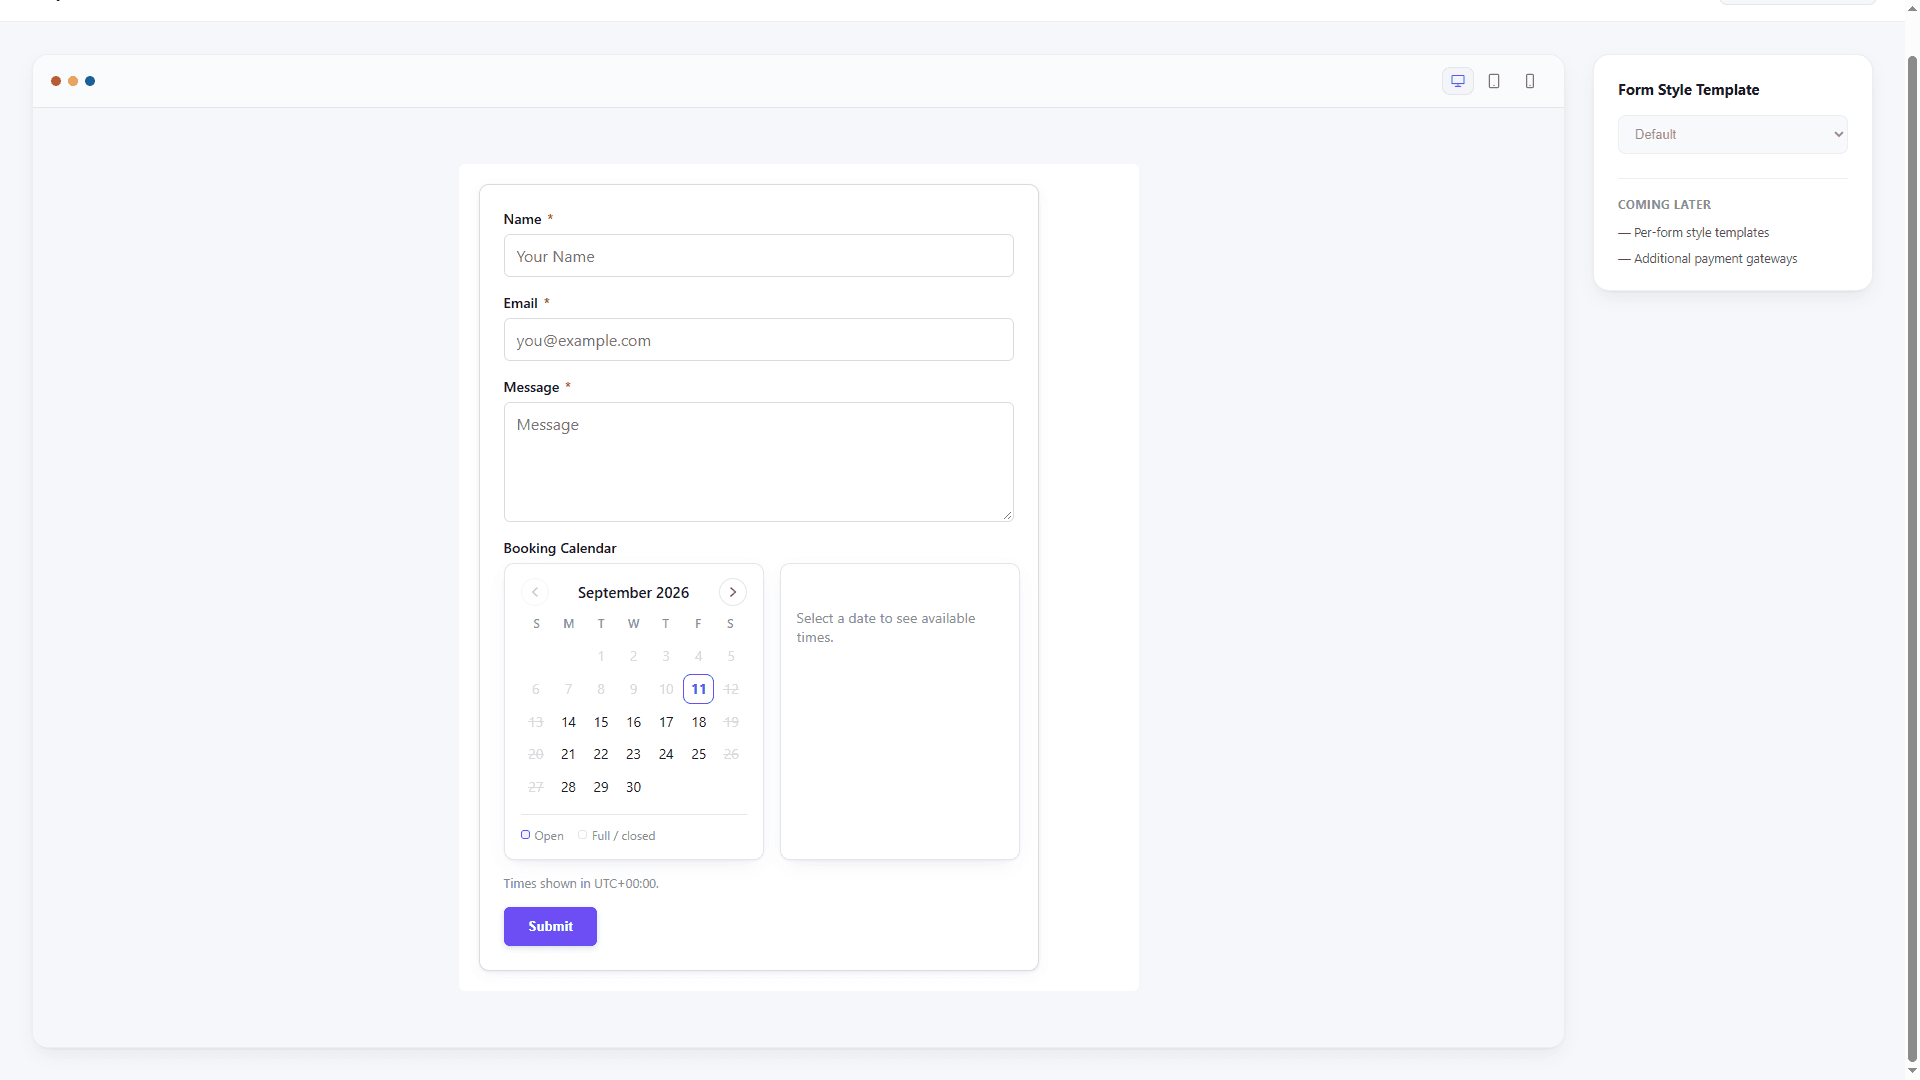
Every field preview in the builder renders exactly as it will on the front end — there's no separate "preview mode" to switch into.
Publish it
Copy the form's shortcode from the builder's toolbar ([chargeforms id="1"])
and paste it into any post, page, or widget area. If your theme or another
plugin supports blocks, you can also add a ChargeForms block directly
in the block editor.
Where entries go
Every submission lands in ChargeForms → Entries, searchable and filterable by form, date range, and read/unread status. Entries are never emailed as the only copy of the data — email notification is a configurable convenience alongside the durable Entries record.
Next: Conditional Logic to make your form adapt based on what a visitor has already answered.