Stripe Test Mode: The Complete Guide (Test Cards, Sandbox vs. Test Mode, Going Live)
Stripe's own documentation on test mode is genuinely thorough — it's just spread across a dozen different pages (API key docs, testing docs, webhook docs, dashboard docs), which is exactly why "stripe test mode" and its dozen variants (test cards, turning it off, test mode vs. sandbox) are searched separately by people who each found only part of the answer. Here's the whole thing in one place.
What test mode actually is
Stripe test mode is a fully parallel version of your real account — not a separate signup, not a separate app, not a "developer sandbox" you have to request access to. Every Stripe account has it built in, toggled from the same dashboard you already use. In test mode:
- Charges, subscriptions, refunds, and disputes all behave exactly like real ones, including real webhook events firing and real entries showing up in your dashboard.
- No actual money moves, ever — a "successful" test charge is real in every way except that it isn't attached to an actual bank transfer.
- Test-mode data and live-mode data are kept completely separate in the dashboard, with a persistent visual indicator (an orange "TEST MODE" banner) so it's never ambiguous which one you're looking at.
The practical implication: you can build and fully exercise a real payment integration — success paths, failures, edge cases, webhook handling — before a single real card is ever charged.
"Test mode" vs. "sandbox" — why the terminology trips people up
If you've worked with PayPal, Shopify, or several other payment platforms before, you're used to a separate sandbox account with its own login, its own developer app registration, and its own test buyer/seller accounts. Stripe doesn't work that way, and searching "stripe sandbox" trying to find that equivalent is a common dead end.
Stripe's model is simpler: one account, one dashboard, and a mode toggle. There's no separate sandbox environment to provision — test mode uses the same account ID and dashboard as live mode, just with a different key prefix and its own isolated data. If you were expecting an extra setup step to get a "sandbox," the good news is you've already got what you were looking for; it's just called test mode, and it's already there.
Getting your test keys
In the Stripe Dashboard, confirm the Test mode toggle (top right) is on, then go to Developers → API keys. You'll see a test Publishable key (pk_test_...) and a test Secret key (sk_test_...). These are entirely separate credentials from your live keys — both can be saved at once in most integrations, with the mode setting determining which pair actually gets used.
Test card numbers, by what you're actually testing
Stripe publishes the full list at Stripe's own testing documentation, but these cover the cases worth deliberately testing before considering a payment form done:
| Number | Simulates |
|---|---|
4242 4242 4242 4242 | A successful payment — the one everyone tries first |
4000 0000 0000 0002 | A generic decline |
4000 0000 0000 9995 | A decline for insufficient funds specifically |
4000 0025 0000 3155 | A card requiring 3D Secure / additional authentication |
4000 0000 0000 0341 | A card that attaches successfully but fails when actually charged |
4000 0000 0000 0259 | A charge that succeeds, then is later disputed — useful for testing dispute-handling logic |
Use any future expiry date and any 3-digit CVC (4 digits for Amex-format numbers starting 3782) — none of these fields are validated against real data in test mode, only the card number itself determines the simulated outcome.
What's actually worth testing beyond "does a successful payment work"
The success path is the easy 20% — the part that actually prevents real support tickets later is testing the rest:
- A declined card, and confirming the form shows a clear, specific error rather than something generic or silent — a visitor who sees "something went wrong" with no indication their card was declined is likely to just leave.
- A duplicate/rapid-repeat submission — click submit twice quickly and confirm it doesn't create two charges or two entries for what should be one transaction.
- Whatever happens after success — a confirmation message, a redirect, a receipt email — tested with an actual test-mode success, not assumed to work because the charge itself succeeded. These are often built and tested separately from the payment logic and can silently break independently of it.
- 3D Secure / additional authentication, if you have customers in regions where this is common (much of the EU under PSD2, in particular) — this flow looks and behaves differently from a standard card charge, and it's easy to build and test only the simple path.
Switching to live mode
There's no single global toggle that flips an entire integration from test to live at once — it's a matter of swapping which keys are in use. In the Stripe Dashboard, switch to Live mode and go to Developers → API keys to get your live publishable and secret keys (pk_live_... / sk_live_...). Then update wherever the test keys were entered — a WordPress plugin's payment settings, environment variables in a custom integration — to the live pair instead.
The form or integration itself doesn't need rebuilding — only the credentials change, so there's no risk of the underlying logic being different between test and live. That said, verify with one small real transaction (refundable, or to yourself) after switching before calling it fully launched — test and live mode occasionally surface region- or currency-specific behavior that's worth catching deliberately rather than from a real customer's report.
How this works specifically in ChargeForms
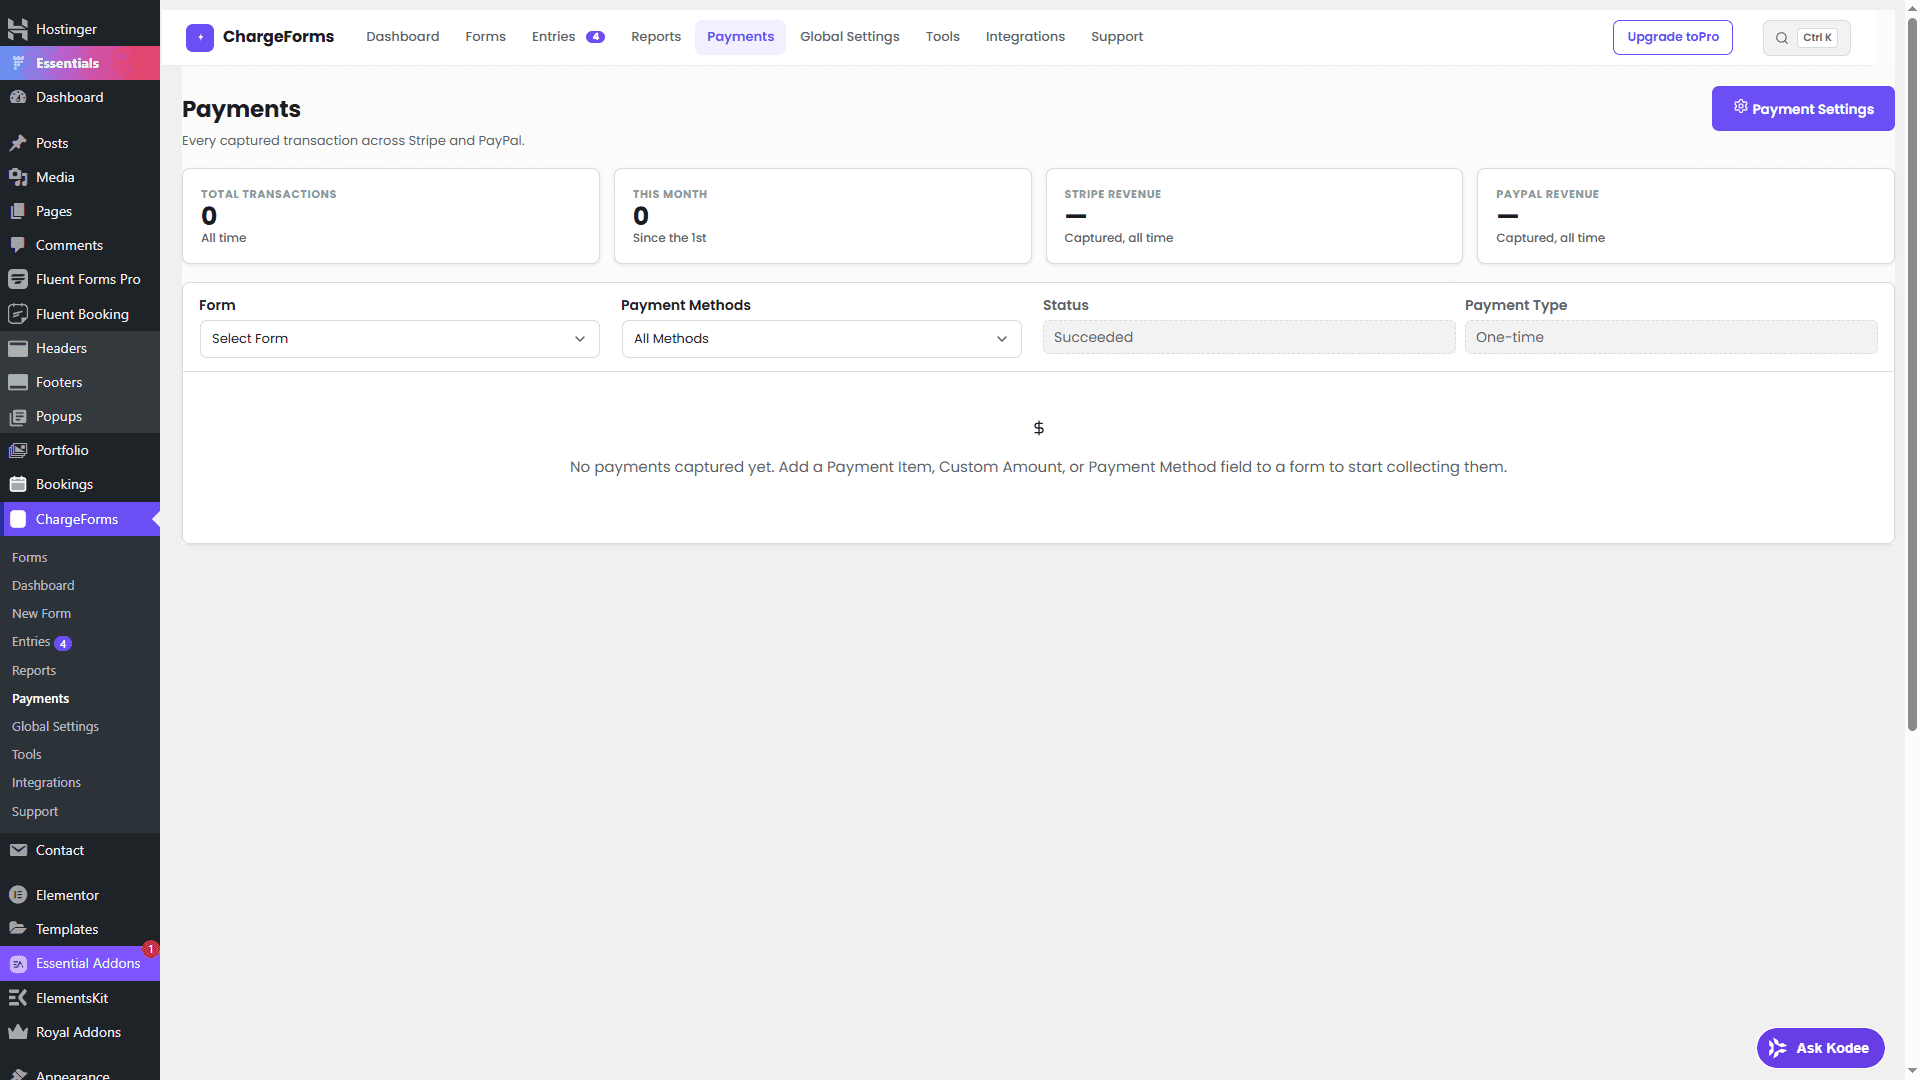
ChargeForms' Payment Settings screen keeps test and live Stripe credentials as two independent, simultaneously-saved sets — switching the mode toggle doesn't clear or overwrite the other, so you can move a form back to test mode later (to debug something, say) without having to re-enter live keys afterward. Test-mode transactions show up in the same Payments screen as live ones, distinguished by mode rather than living in a separate interface — which matters specifically because it means testing your actual, real, currently-configured form (not a simulated copy of it) is the default way to test at all. See the Stripe test mode docs for the exact setup steps, or the payments documentation for how every charge — test or live — gets verified server-side before an entry is ever created.
The bottom line
Test mode is a full, real parallel environment built into every Stripe account — not a separate sandbox to request, not a stripped-down simulator. Get the test/live keys straight, deliberately test failure paths and not just the success case, and remember that "going live" is a credential swap, not a rebuild. See the full fee comparison if platform fees are the next thing on your list to check before actually launching a payment form.
Frequently asked questions
What is Stripe test mode?
A fully functional parallel environment where you can create charges, subscriptions, refunds, and disputes that behave exactly like real ones — full API responses, real webhook events, real dashboard entries — except no actual money moves and no real card is charged. It's meant to be used for the entire build-and-test cycle of a payment integration, not just a quick sanity check.
Is Stripe's 'test mode' the same thing as a 'sandbox'?
Functionally yes, though Stripe specifically doesn't use the word "sandbox" the way PayPal or some other payment platforms do — there's no separate sandbox account, sandbox URL, or sandbox app to set up. Test mode is a toggle within your one real Stripe account: same dashboard, same account ID, same API keys structure, just prefixed pk_test_/sk_test_ instead of pk_live_/sk_live_. If you're used to PayPal's separate developer/sandbox account model, the adjustment is realizing you don't need one — it's simpler, not missing a feature.
What's the universal Stripe test card number?
4242 4242 4242 4242 — it simulates a successful payment and works for any card brand's format check. Use any future expiry date and any 3-digit CVC (4 digits for Amex-format numbers starting 3782). This number is safe to publish and share; it only works in test mode and can never charge real money, in test mode or otherwise.
How do I test a declined payment?
4000 0000 0000 0002 simulates a generic decline. Stripe publishes number variants for specific decline reasons too (insufficient funds, expired card, incorrect CVC, and others) in its own testing documentation — worth testing at least a generic decline and one that matches whatever failure mode your actual customers are statistically most likely to hit, rather than only ever testing the success path.
How do I turn off Stripe test mode / switch to live mode?
There's no single global 'turn off test mode' switch — it's per-integration. In the Stripe Dashboard, toggle to Live mode (top right) and go to Developers → API keys to get your live publishable and secret keys (pk_live_.../sk_live_...). Then update whatever's using the test keys — a WordPress plugin's payment settings, a custom integration's environment variables — to the live keys instead. The test and live keys are entirely separate; swapping one for the other is the actual mechanism, not a setting that flips both at once.
Related posts
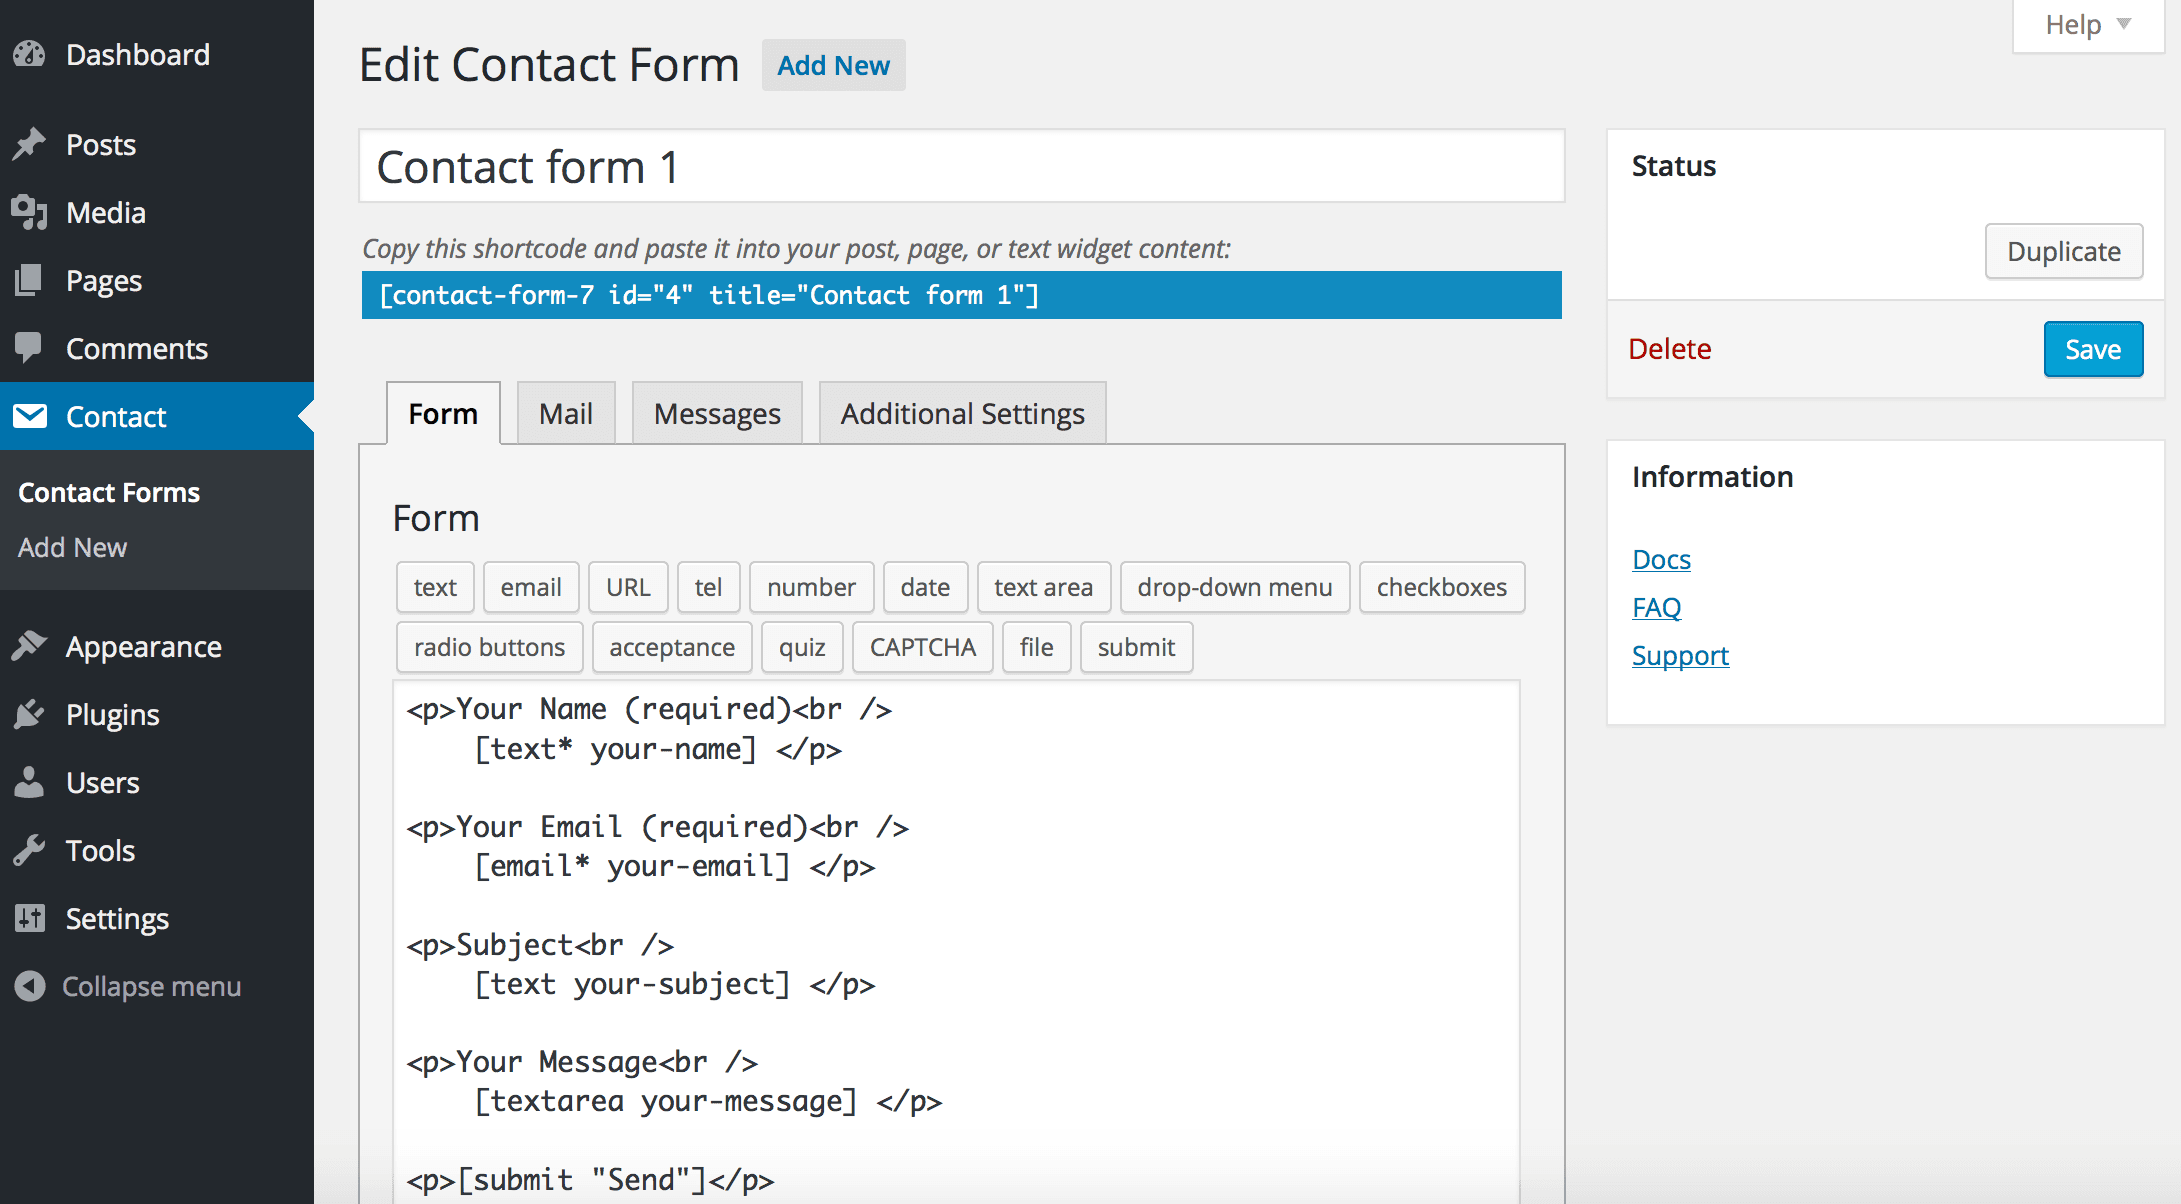
Contact Form 7 Is in Maintenance Mode: What That Actually Means
Contact Form 7's creator confirmed at WordCamp Asia 2026 that version 6.2 is the last feature release — the plugin now gets security patches only. Here's what changes, what doesn't, and what to actually do about it.